Documentation

1. Registering (adding) a device and binding to the service

2. Device list information, column descriptions and actions

3. Sending single messages from the SMS menu

4. Create contacts, import and export, work with contact groups

5. Create a mailing list

6. Tool, selective mailing

7. Viewing the mailing report, section descriptions

8. API key creation and property description


Registering (adding) a device and binding to the service
To register a device, you will need to go to the control panel on the site and on the device tab, click on the add device button.

After that, a window opens where you need to enter the Link code

To get this code, we go to the application and see the code for each SIM card. We take the desired one and insert it on the site.

Done, the device has appeared in the list and is ready to work with the service.


Go to the device tab, there is a list of all devices connected to the service. 

ID - device id  


Device name - Phone model and selected SIM card 


Let's consider the properties of the device in more detail:


Battery charge on device
Root rights on the device
Information on device settings and log
Pause between messages

Version - App version on device


Mobile operator - The mobile operator of the SIM card of this device


Send speed (per minute) - A configurable function that indicates the rate at which messages are sent to this device.


Service in the phone - Informs about the state of the application mode in the phone


Use device in mailing list -  A configurable feature that toggles the ability to use the selected device in bulk mailing.


Enable delivery report - A configurable function, enables or disables the ability to receive confirmation of SMS message delivery to the addressee.


SMS limit - Customizable function. Message limit for this device.


To send a single SMS, go to the SMS tab and click the send SMS button


After that we fill in all the fields in the form:

  1. "Phone" is entered in international format and separated by commas if sending to several numbers.

  2. "Device" Select the device from which the SMS will be sent

  3. Message text


To work, you need to switch the switch in the application on the device


In any created mailing list, contacts are added from the group. Groups allow you to filter contacts by target groups and use them depending on the needs of a particular distribution.


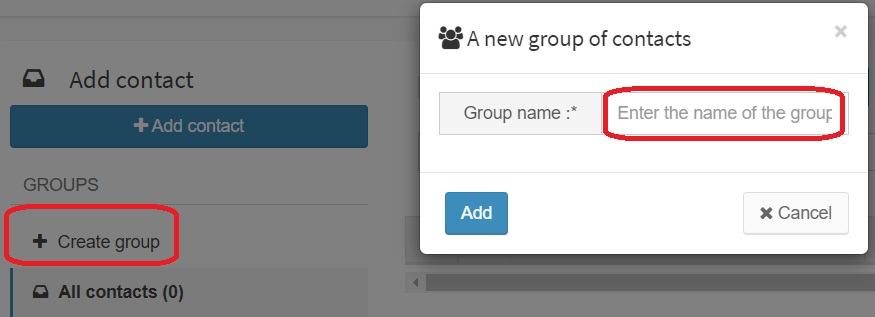
To create a group, click Create group and enter a name


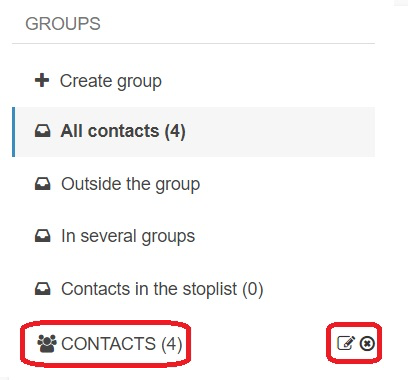
After creating a group, it appears in the list, with the number of contacts attached to it. To the right of the group are two buttons for editing and deleting.


When creating several groups, you can perform group actions with contacts. Contacts can be moved to different groups and deleted using the checkbox buttons.

For group actions and selection of all contacts in the group, you must select the group, or the desired section on the left.


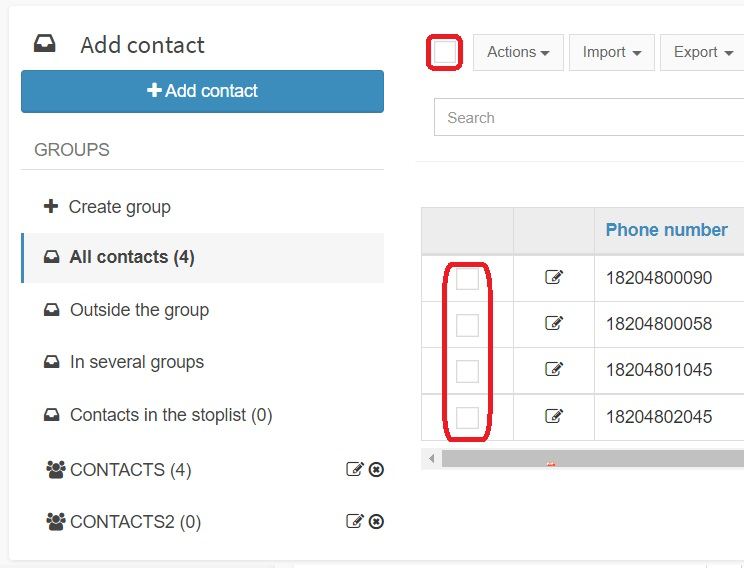
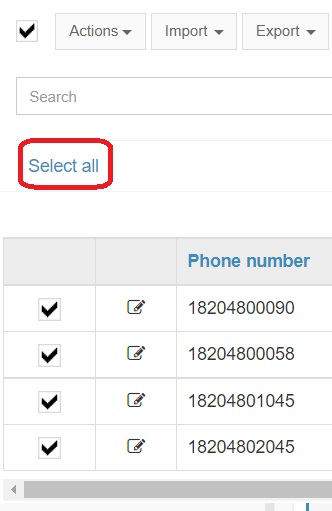
To select all contacts in the selected group, after clicking on the checkbox, next to the "Actions" button, the Select all link appears, which marks all contacts associated with the group.


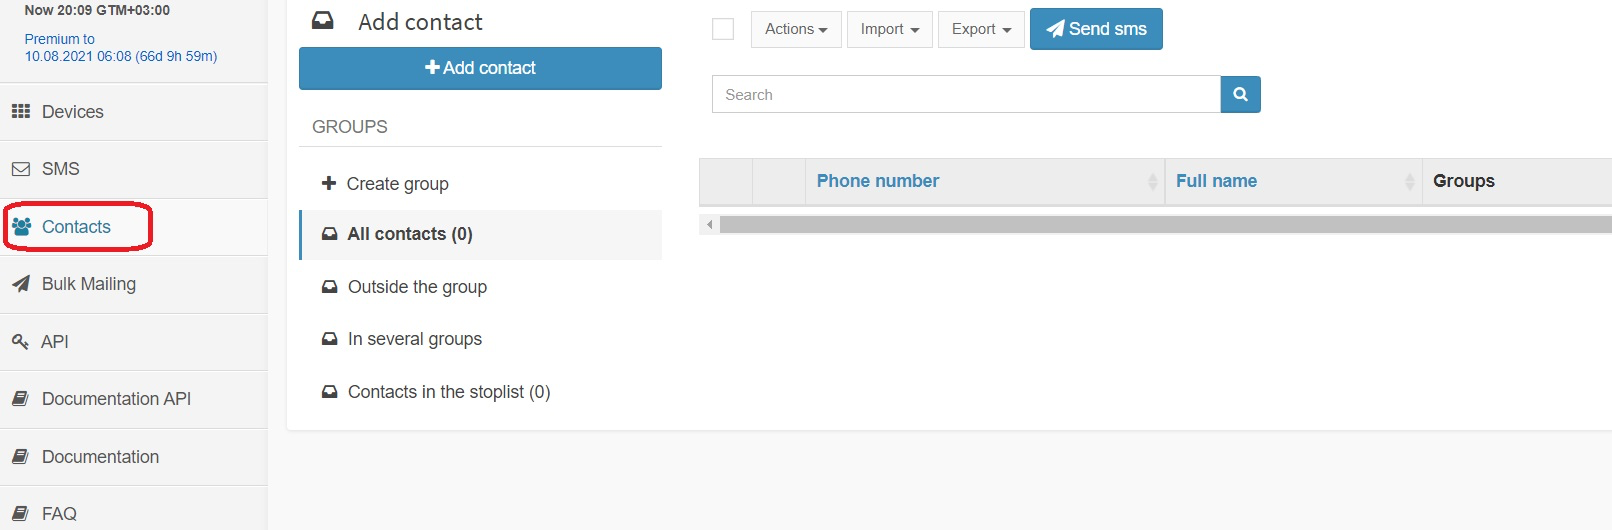
 To create and edit contacts, go to the contacts tab.


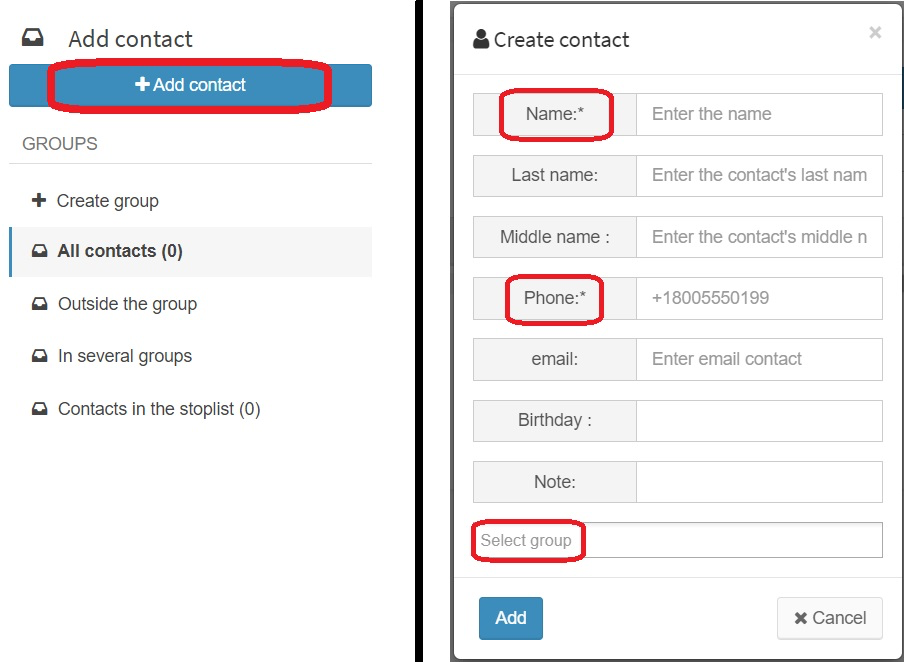
There are two ways to create a new contact:


1.Add contact yourself

    2.Import from file


To add a contact yourself, click the Add contact button and fill in all the fields. Required or important fields are marked in red.


To add contacts from a file, click on the import tab.


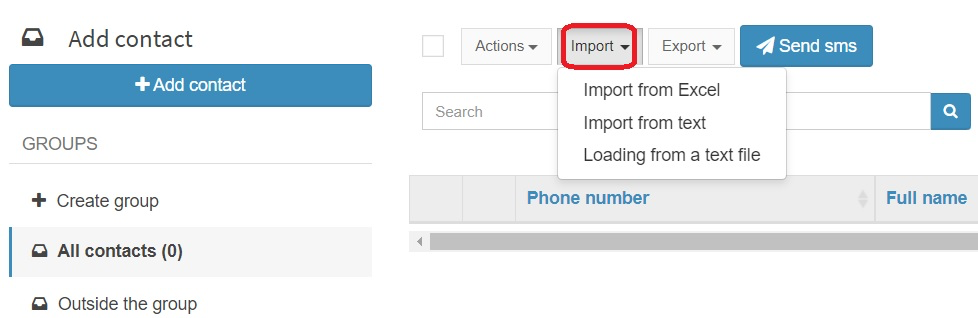
There are three ways to import contacts:


1.Excel File - Excel Spreadsheet Document

    2.Import from text - Add by copying text

    3.Text file - text document (no formatting)


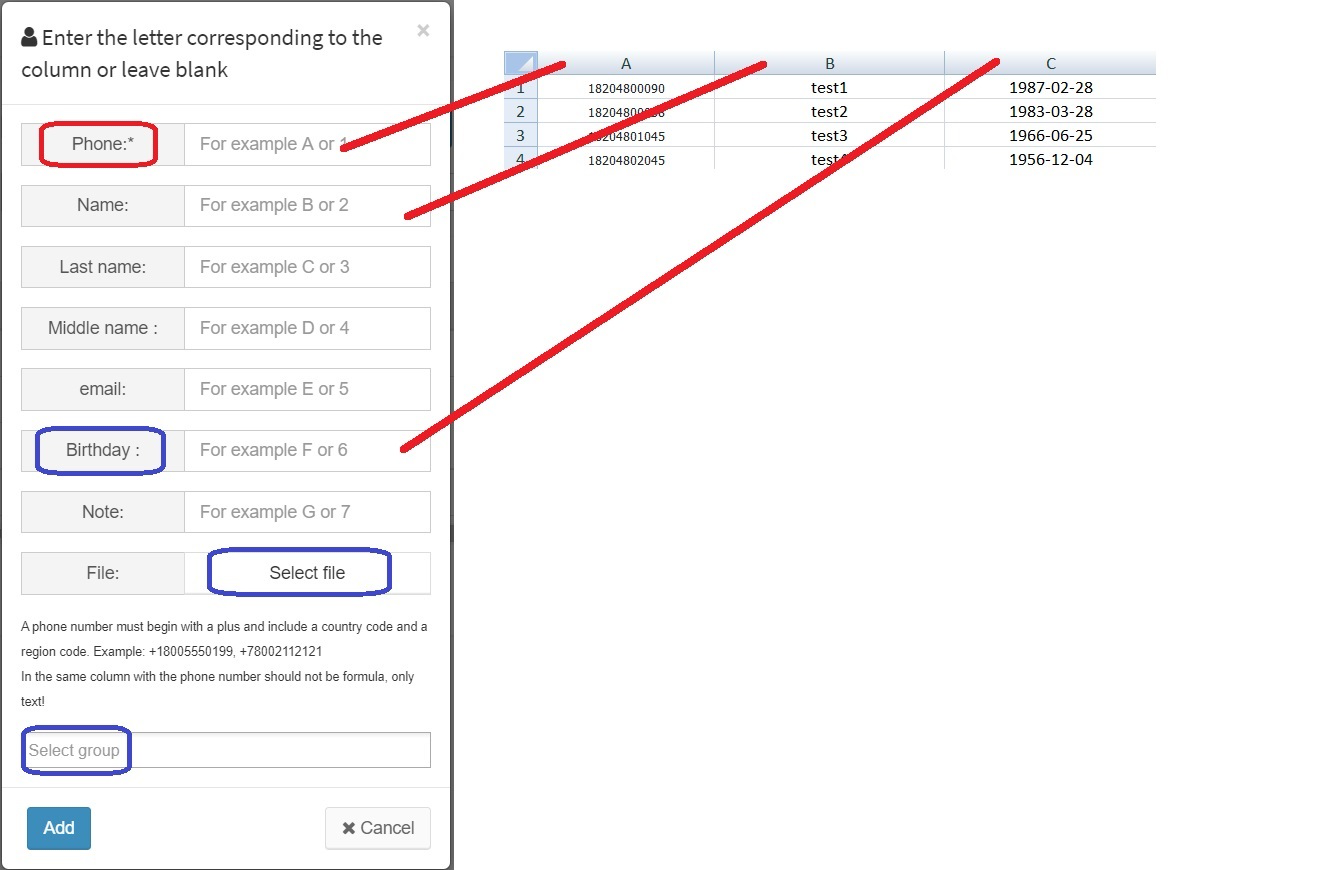
To import from an Excel file, select Import -> Import from Excel. In the field that appears, enter the letter of the column corresponding to the type of imported data. Mandatory fields are marked in red, recommended fields in blue.

For example, an example of formatting the date of birth is additionally presented, in case of incorrect display of the date of birth, make sure that the cell format is in the form of text and is specified in the format YYYY-MM-DD, example 1990-02-31


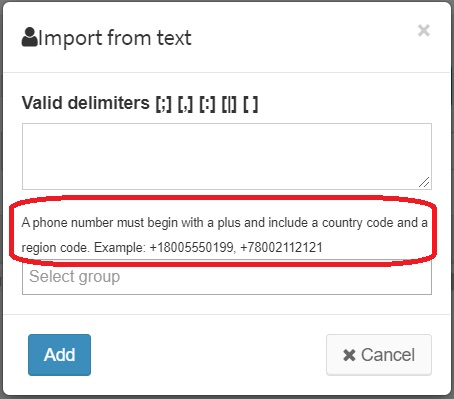
To import from text, select the appropriate item and fill in using the symbols as separators : ; , space.


If you need to unload contacts, you can use the Export function


Export allows you to display contacts in two ways:

  1. To Excel file

  2. To a CSV file with the ability to add almost any device to the phone book.


To create a newsletter, go to the newsletter tab and click the create newsletter button


In the dialog box, enter the name of the mailing


A mailing list appears in the list, indicating the main parameters; for complete settings, click on the corresponding mailing control item.


In the settings, we indicate the validity period of the mailing, the sending time and the number of repetitions. Additionally, you can set a recurrence on the birthday, if such data is specified in the contact's profile.


In the field below, enter the device that will be used for distribution and a group of contacts. In the last field, the text of the message is filled; in this field, you can additionally use the mechanisms of shortcodes, for example:

[Last name] - The recipient's surname, the value is taken from the fields in the contact list.

[Name] - The recipient's name, the value is taken from the fields in the contact list.

[Middle name] - The recipient's patronymic, the value is taken from the fields in the contact list.

[Phone number] - The recipient's phone number is taken from the fields in the contact list.

Random number, etc.

The values are taken from the fields in the contact list.


Additionally, it is worth noting such a tool as a Variable template.

Example template [Hello|Good afternoon|Hi]


Where in symbols [] values are entered and separated by the symbol | .

When sending, the values from the variation template are added to the message one by one.


After entering all the data, click save mailing.


After creation, the mailing list is switched on by means of the corresponding button and starts to work.


After the completion of the mailing list, sometimes it becomes necessary to resend messages to those numbers that have encountered errors.

For this, there is a selective mailing tool.

To start, go to the mailing section and press the selective mailing button.

The button will become active after all messages have been sent, after the previous mailing task.


In the window that opens, there are 4 filtering parameters and 3 properties for them:


Sent - Messages sent to the device, but not forwarded to the service provider.


Sent actually - Messages sent from the device to the service provider.


Delivered - Delivered messages to the subscriber.


Error sending: - Errors that occurred when sending a message.


The No matter property allows you to ignore the selected parameter.


After selecting the desired properties, the header will display the number of contacts for mailing, if everything is in order, then click the Send button. The service will create a new mailing task.


To view the mailing report, go to the Mailings tab and click the Mailing report button. Next, it is proposed to download the Excel file in csv format.


The file opens in Excel and has a standard spreadsheet look.

Next, let's write down the values in accordance with each column:


A- Contains the serial number of the contact.

B- Phone number.

C- Number of messages to send.

D- Departure date.

E- Number of messages sent.

F- Number of delivered messages.

G- Number of send errors.

H- The text of the sent message.


To create an API key, go to the API tab and click the Create token button


Next, a window for configuring token parameters opens, where the required fields are marked in red.


Expiration date - token expiration date


Time - period of sending messages


Limits - setting message limits for a token. If the limit is exceeded, the message will not be sent to the server. The API will report a limit exceeded error.


Instant sending - This function works for premium accounts and allows you to send messages instantly, bypassing all the limits and restrictions.


After filling, press the create button.


The token is ready. The created key and parameters for it appear in the list of tokens. You can click on the edit button to change the settings.